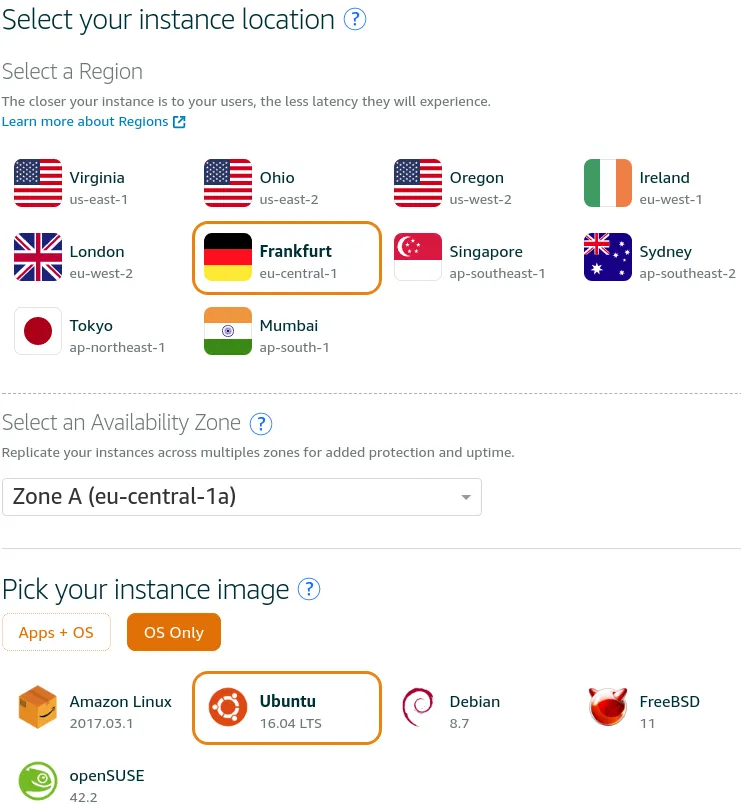
I assume that you have an account on AWS. Log in, go to Amazon Lightsail and click Create Instance. During this process, you can choose where your instance should be located (region and availability zone) and which system should be installed. I chose Frankfurt (eu-central-1a) and Ubuntu Linux.
We won’t need launch scripts but we will have to create SSH key pair. We will need it later for connecting to the instance. Click Change SSH key pair and click Create new. Type a name, click Generate key pair, download keys and put them in ~/.ssh directory. We have to change key permissions before use.
chmod 400 ~/.ssh/eshlox-net.pem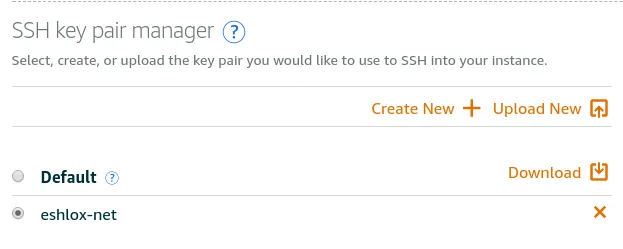
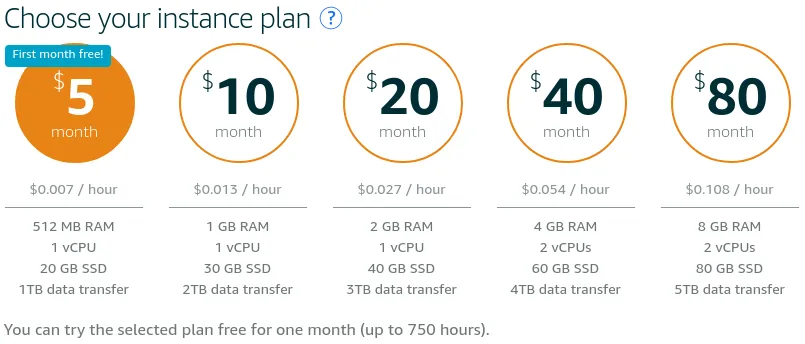
Next, choose a plan. I choose the cheapest plan, it’s enough for me.
The last step, name your instance and click Create button.

We have to wait for the instance to be ready. When the instance has a status Running, we can log in.
We should attach a static IP. Go to AWS Lightsail, select Create static IP button, choose the same region and zone which were chosen for your instance, attach it to your instance, select IP address name, and click Create. From now on, you can use the newly created IP address and your blog will be accessible under it.
We can log in to the instance in two ways. We can use web SSH client or use SSH from our system. I choose the second one. Select Your instance and get the public IP address. In my case, the SSH command looks like this:
First thing after login, let’s update our system.
sudo apt update && sudo apt upgradeNow, let’s install Docker. You can check Docker documentation if you want to read more about Docker installation. I will post here only required commands without description.
curl -fsSL https://download.docker.com/linux/ubuntu/gpg | sudo apt-key add -sudo add-apt-repository "deb [arch=amd64] https://download.docker.com/linux/ubuntu $(lsb_release -cs) stable"sudo apt updatesudo apt install docker-ceWe want to execute Docker commands without sudo, let’s add ubuntu user to the docker group.
sudo groupadd dockersudo usermod -aG docker $USERConfigure Docker to start on boot.
sudo systemctl enable dockerLog out, log back and run docker info to check if Docker works.
Time to install Ghost blog. In this post I will use Ghost in version 0.11.11. If you read this post in the future, change version to the newest one.
Create the directory where you will keep blog data.
mkdir ~/blog_contentThe command below will do this:
- download Ghost in version 0.11.11
- run Docker container
- mount our
blog_contentdirectory to/var/lib/ghostinside Docker container and store blog data there - map port 2368 to 80 so we will be able to access our blog on port 80
Of course, you can change the name of the container.
docker run --name eshlox-net -v /home/ubuntu/blog_content:/var/lib/ghost -p 80:2368 ghost:0.11.11-alpineThe output of the command should look like this:
[ubuntu@ip-172-26-10-66 ~]$ docker run --name eshlox-net -v /home/ubuntu/blog_content:/var/lib/ghost -p 80:2368 ghost:alpineUnable to find image 'ghost:alpine' locallyalpine: Pulling from library/ghost90f4dba627d6: Pull complete302ce48cc185: Pull completee1c17ba3935d: Pull complete1a86fd5d5e80: Pull completee6139c361248: Pull complete8a700ec450ff: Pull completee8db228789f6: Pull complete5b4133c4fb9c: Pull completec97fdc920c32: Pull completeDigest: sha256:acda68ca051787139a162b8748dfd5efbccb45f98899ad0d76f30220c65dd47bStatus: Downloaded newer image for ghost:alpinenpm info it worked if it ends with ok
> [email protected] start /usr/src/ghost> node index
WARNING: Ghost is attempting to use a direct method to send email.It is recommended that you explicitly configure an email service.Help and documentation can be found at https://docs.ghost.org/v0.11.9/docs/mail-config.
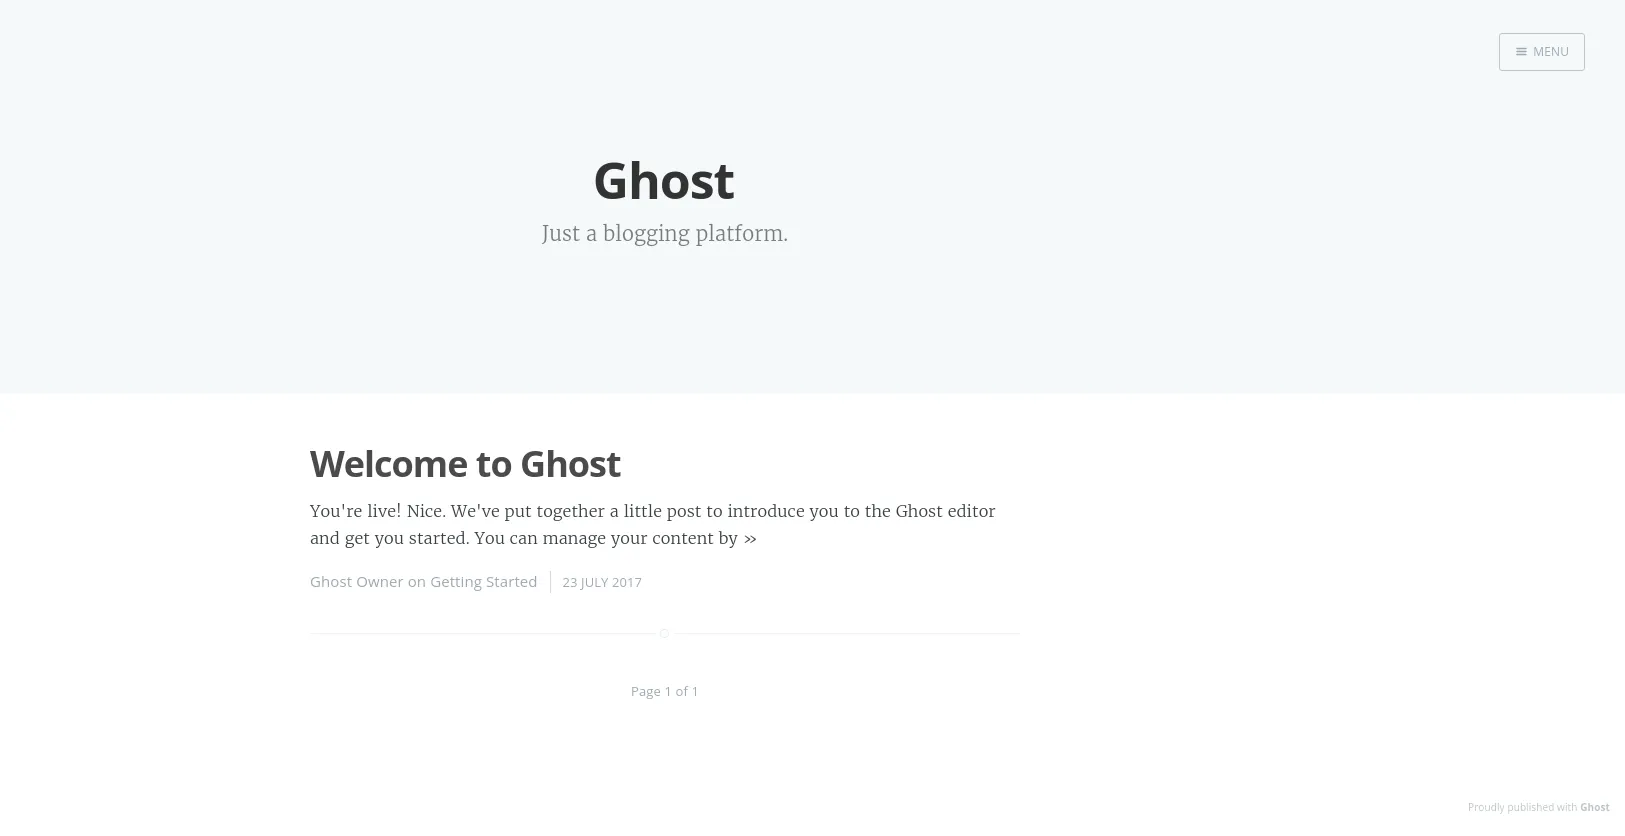
Migrations: Creating tables...Migrations: Creating table: postsMigrations: Creating table: usersMigrations: Creating table: rolesMigrations: Creating table: roles_usersMigrations: Creating table: permissionsMigrations: Creating table: permissions_usersMigrations: Creating table: permissions_rolesMigrations: Creating table: permissions_appsMigrations: Creating table: settingsMigrations: Creating table: tagsMigrations: Creating table: posts_tagsMigrations: Creating table: appsMigrations: Creating table: app_settingsMigrations: Creating table: app_fieldsMigrations: Creating table: clientsMigrations: Creating table: client_trusted_domainsMigrations: Creating table: accesstokensMigrations: Creating table: refreshtokensMigrations: Creating table: subscribersMigrations: Running fixture populationsMigrations: Creating ownerGhost is running in development...Listening on 0.0.0.0:2368Url configured as: http://localhost:2368Ctrl+C to shut downNow, you can access your blog using public IP address which is attached to your instance.
Now, we have to set up Docker container to run it automatically when the system starts.
Click Ctrl+C to kill container with Ghost blog.
Create /etc/systemd/system/[email protected] file. Of course, change eshlox-net to your container name. File content:
[Unit]Description=Docker Container %IRequires=docker.serviceAfter=docker.service
[Service]Restart=alwaysExecStart=/usr/bin/docker start -a %iExecStop=/usr/bin/docker stop -t 2 %i
[Install]WantedBy=default.target
Now, let’s edit this service and configure our container.
This command will open a text editor. Put this content there:
[Service]ExecStart=ExecStart=/usr/bin/docker run -v /home/ubuntu/blog_content:/var/lib/ghost -p 80:2368 -e NODE_ENV=production --name %i ghost:0.11.11-alpineExecStopPost=/usr/bin/docker rm -f %iNotice that the line which starts with ExecStart contains similar parameters as our previous command.
Reload systemctl to apply our changes.
systemctl daemon-reloadStart our container.
Enable newly created service to start our container on system boot.
Go to your public IP and check if Ghost blog works. You can also restart the instance and check if it automatically starts on boot.
How to update Ghost?
It’s very simple.
Edit our service configuration.
Change the Ghost version, for example, change
ExecStart=/usr/bin/docker run -v /home/ubuntu/blog_content:/var/lib/ghost -p 80:2368 -e NODE_ENV=production --name %i ghost:0.11.10-alpineto
ExecStart=/usr/bin/docker run -v /home/ubuntu/blog_content:/var/lib/ghost -p 80:2368 -e NODE_ENV=production --name %i ghost:0.11.11-alpineRestart service.
It will automatically download new Ghost image and use it when the container starts.
How to check container logs?
It useful when you want to debug issues with Ghost or Docker container.
As always, change your eshlox-net.service to your service name.
AWS Lightsail allows us to create a backup which I recommend to do at least before every system update and Ghost blog update. If something breaks, you can use a snapshot to restore the system.